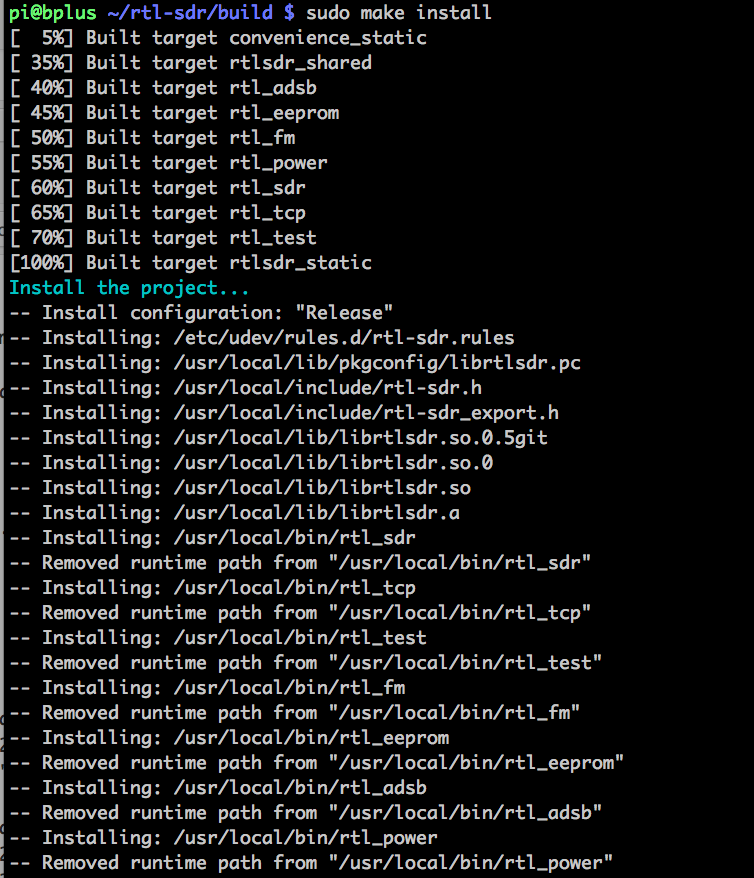
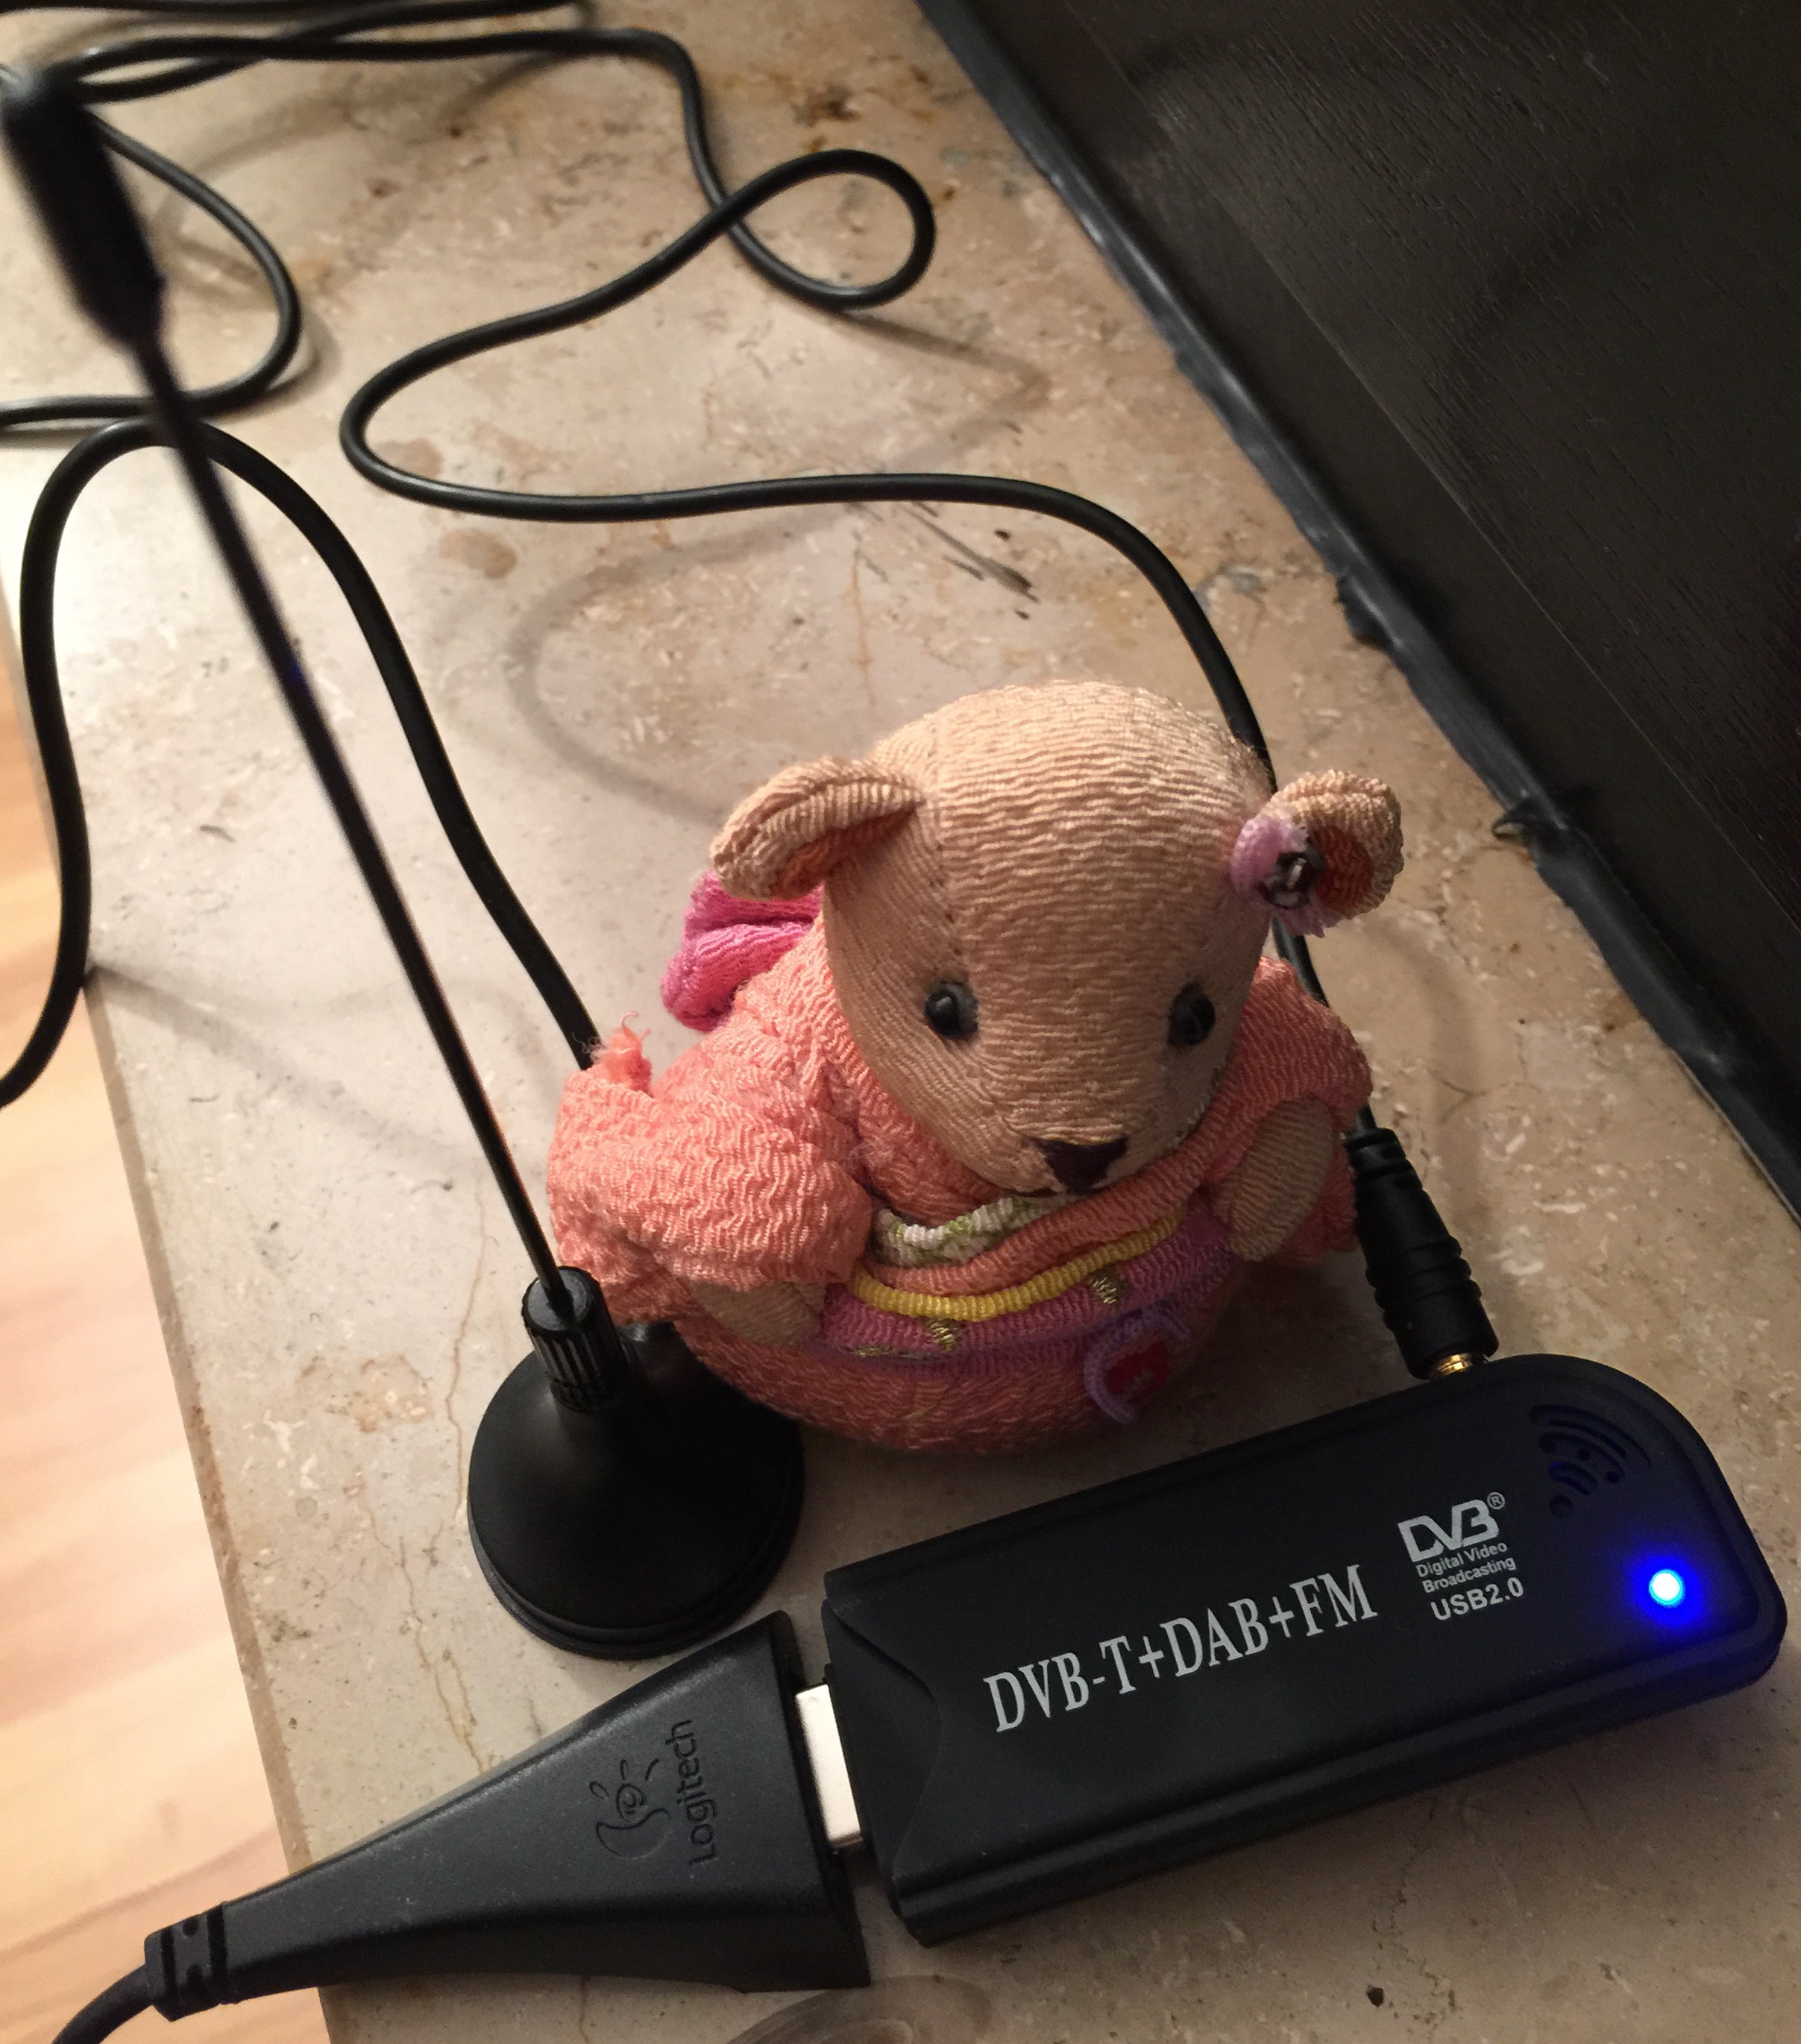
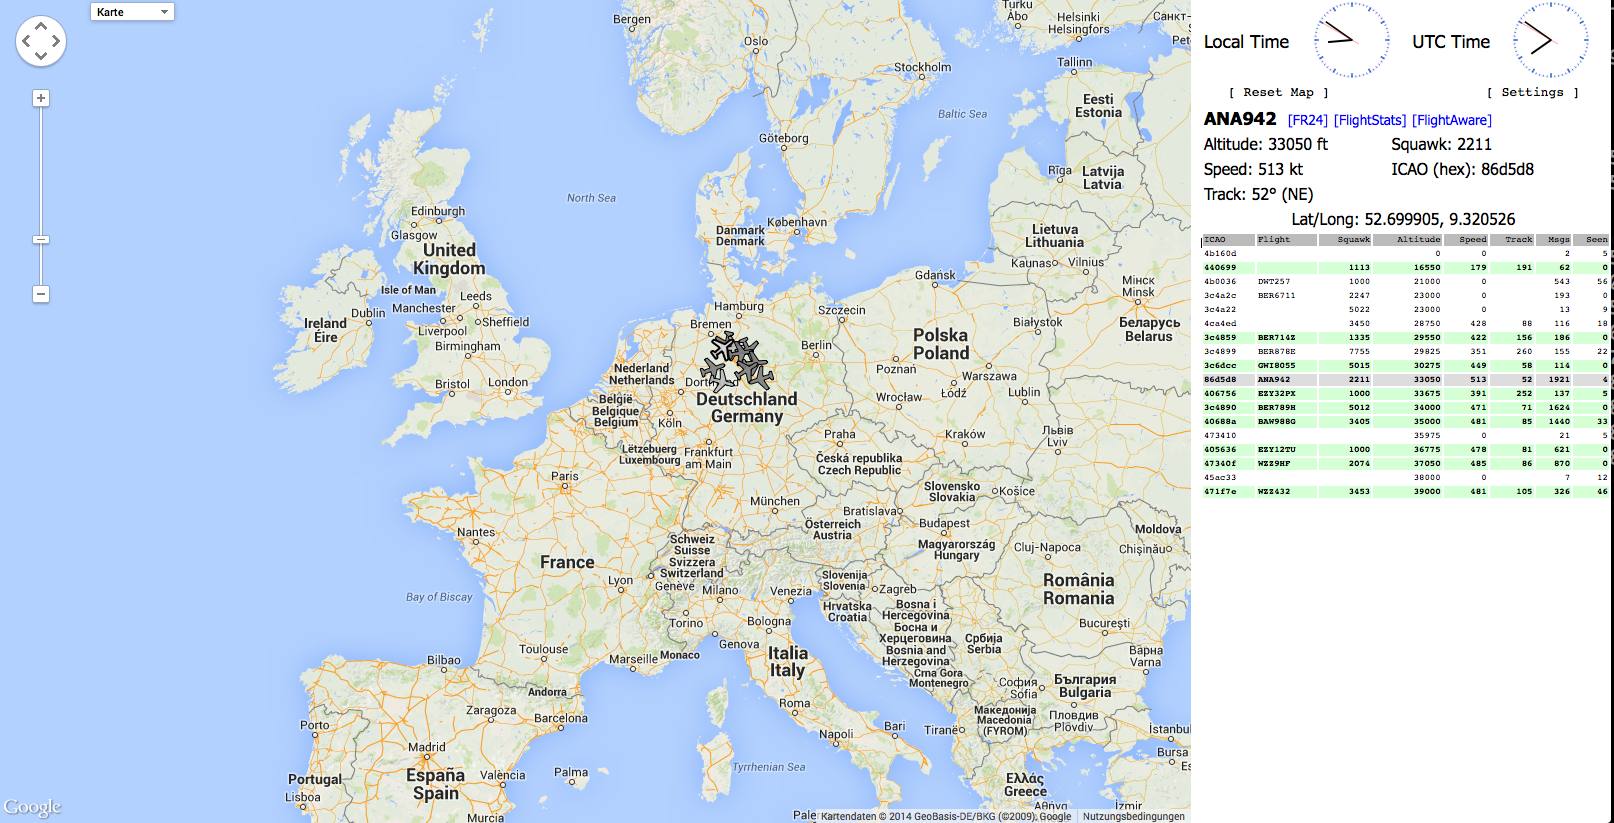
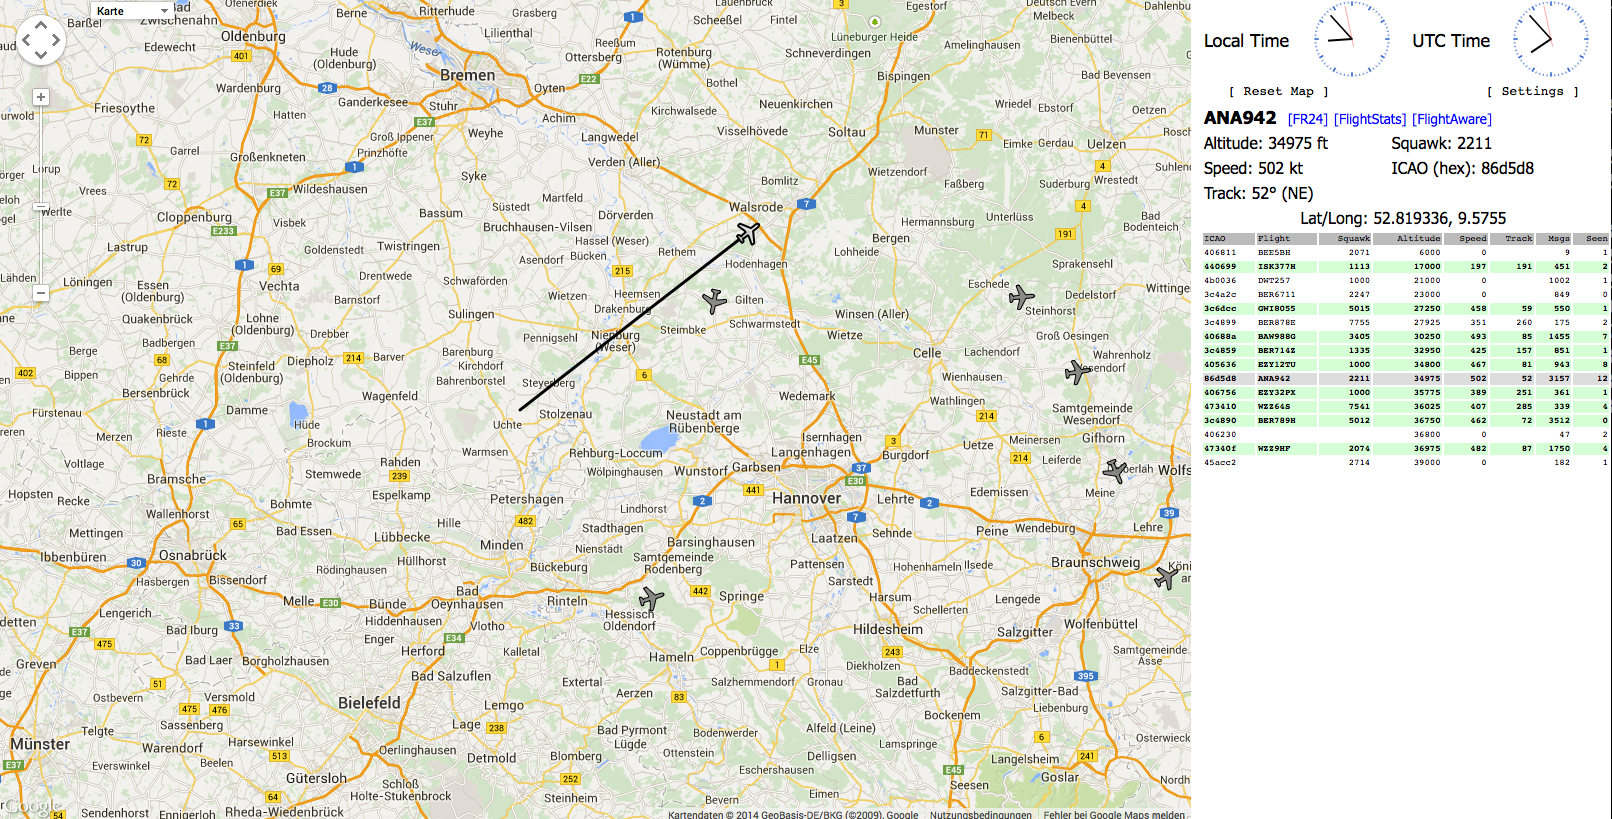
Vor einiger Zeit hatte ich schon mal beschrieben wie man die Flugzeugsignale mit dem Raspberry Pi empfängt und nach Flightradar24.com senden kann. Es gibt aber noch eine andere Flugseite FlightAware. Wie kann man die Flugsignale gleichzeitig auch nach FlightAware senden? Das geht mit dieser Beschreibung ganz gut. Man benötigt erst mal einen Account bei FlightAware. Der Dump1090 Server muss installiert sein und laufen. Das wurde von mir auch schon mal beschrieben.
Dann folgende Befehle im Terminal eingeben um die empfangenen Flugsignale vom DUMP1090 über faup1090 alle 5 Minuten verschlüsselt (TLS) an FlightAware zu senden:
|
1 2 3 4 5 6 7 8 9 10 11 12 13 14 15 16 17 18 19 20 21 22 23 24 25 |
# System updaten sudo apt-get update sudo apt-get upgrade # Nötige Komponenten laden sudo apt-get install -fy # Programm downloaden wget http://uk.flightaware.com/adsb/piaware/files/piaware_1.20-1_armhf.deb # und instalieren sudo dpkg -i piaware_1.20-1_armhf.deb # Optional zwei Einstellungen setzen (siehe weiter unten) sudo piaware-config -autoUpdate 1 -manualUpdate 1 # Feed starten mit sudo piaware-config -user USERNAME -password # Passwort abfrage kommt, dann Passwort eingeben # und piaware einmal restarten sudo /etc/init.d/piaware restart # Status kann optional abgefragt werden mit sudo /etc/init.d/piaware status # oder mehr mit sudo piaware-status # Stoppen des piAware Servers mit sudo /etc/init.d/piaware stop # Starten des piAware Servers mit sudo /etc/init.d/piaware start |
Die möglichen Einstellungen können mit
|
1 |
sudo piaware-config -help |
abgefragt werden. Es werden folgende Befehle unterstützt:
|
1 2 3 4 5 6 7 8 9 10 11 12 13 |
piaware-config : piaware-config -help|-user|-password|-start|-stop|-status|-autoUpdate 1/0|-manualUpdate 1/0 -user value specify the user name of a valid FlightAware account <> -password interactively specify the password of the FlightAware account -autoUpdate value 1 = allow FlightAware to automatically update software on my Pi, 0 = no <> -manualUpdate value 1 = allow me to trigger manual updates through FlightAware, 0 = no <> -start attempt to start the ADS-B client -stop attempt to stop the ADS-B client -restart attempt to restart the ADS-B client -status get the status of the ADS-B client -show show config file -- Forcibly stop option processing -help Print this message -? Print this message |
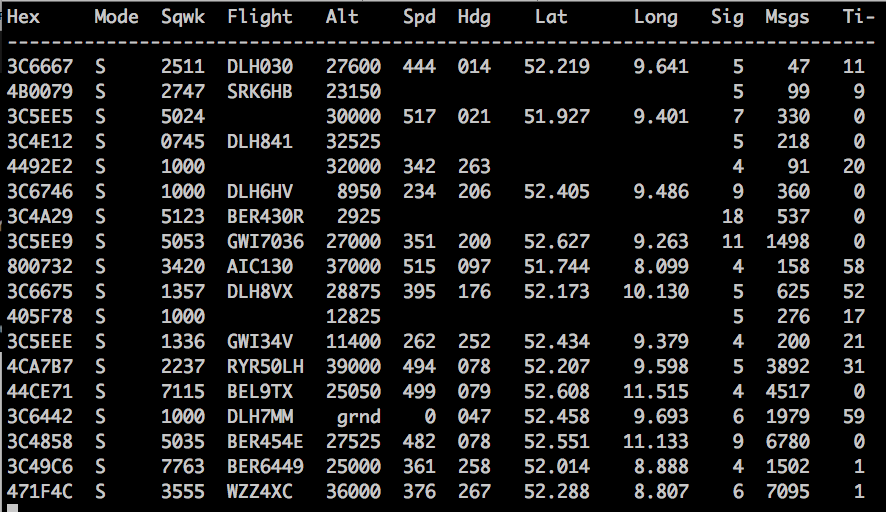
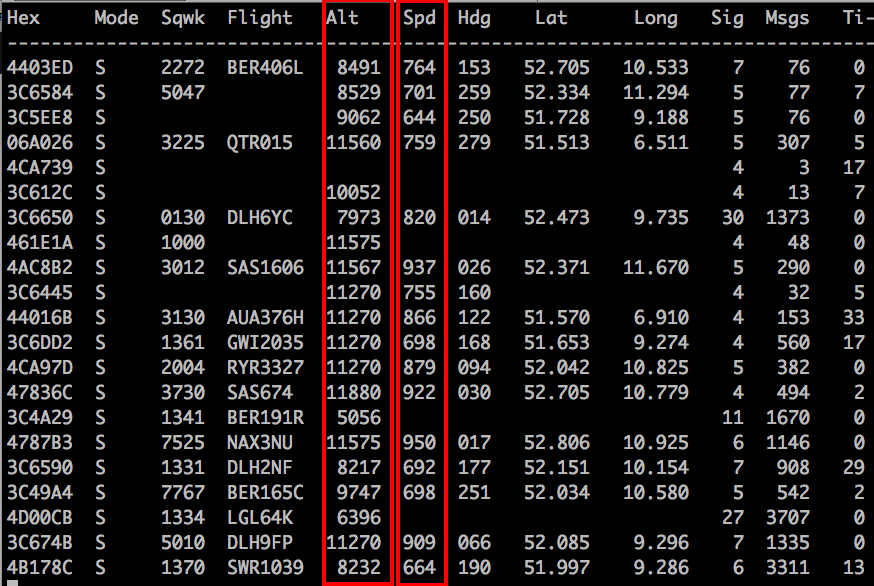
Schon nach ein paar Minuten werden die Flugdaten bei FlightAware sichtbar.
Der Quellcode und Beschreibung zu dem piaware Programm findet man auf Github.
Was das piaware Programm so nach dem start macht, kann in der Logdatei unter /tmp/piaware.out eingesehen werden. Hier mal ein Auszug aus der Verbindung:
|
1 2 3 4 5 6 7 8 9 10 11 12 13 14 15 16 17 18 19 20 21 |
11/30/2014 12:14:22 **************************************************** 11/30/2014 12:14:22 piaware version 1.18 is running, process ID 12345 11/30/2014 12:14:22 your system info is: Linux xxxx 3.12.28+ #712 PREEMPT Tue Sep 16 15:49:13 BST 2014 armv6l GNU/Linux 11/30/2014 12:14:22 connecting to FlightAware eyes.flightaware.com/1200 11/30/2014 12:14:23 FlightAware server SSL certificate validated 11/30/2014 12:14:23 encrypted session established with FlightAware 11/30/2014 12:14:23 autoUpdate in adept config is enabled, allowing update 11/30/2014 12:14:23 manualUpdate in adept config is enabled, allowing update 11/30/2014 12:14:24 ADS-B data program 'dump1090' is listening on port 30005, so far so good 11/30/2014 12:14:24 i see nothing serving on port 10001, starting faup1090... 11/30/2014 12:14:24 started faup1090 (process ID 12345) 11/30/2014 12:14:27 connecting to faup1090 on port 10001... 11/30/2014 12:14:27 piaware is connected to faup1090 on port 10001 11/30/2014 12:14:27 logged in to FlightAware as user USERNAME 11/30/2014 12:14:27 piaware received a message from the ADS-B source! 11/30/2014 12:14:32 piaware has successfully sent several msgs to FlightAware! 11/30/2014 12:14:57 26 msgs recv'd from dump1090 via faup1090; 26 msgs sent to FlightAware 11/30/2014 12:15:23 server is sending alive messages; we will expect them 11/30/2014 12:19:57 309 msgs recv'd from dump1090 via faup1090 (283 in last 5m); 310 msgs sent to FlightAware 11/30/2014 12:24:57 625 msgs recv'd from dump1090 via faup1090 (316 in last 5m); 627 msgs sent to FlightAware ... |
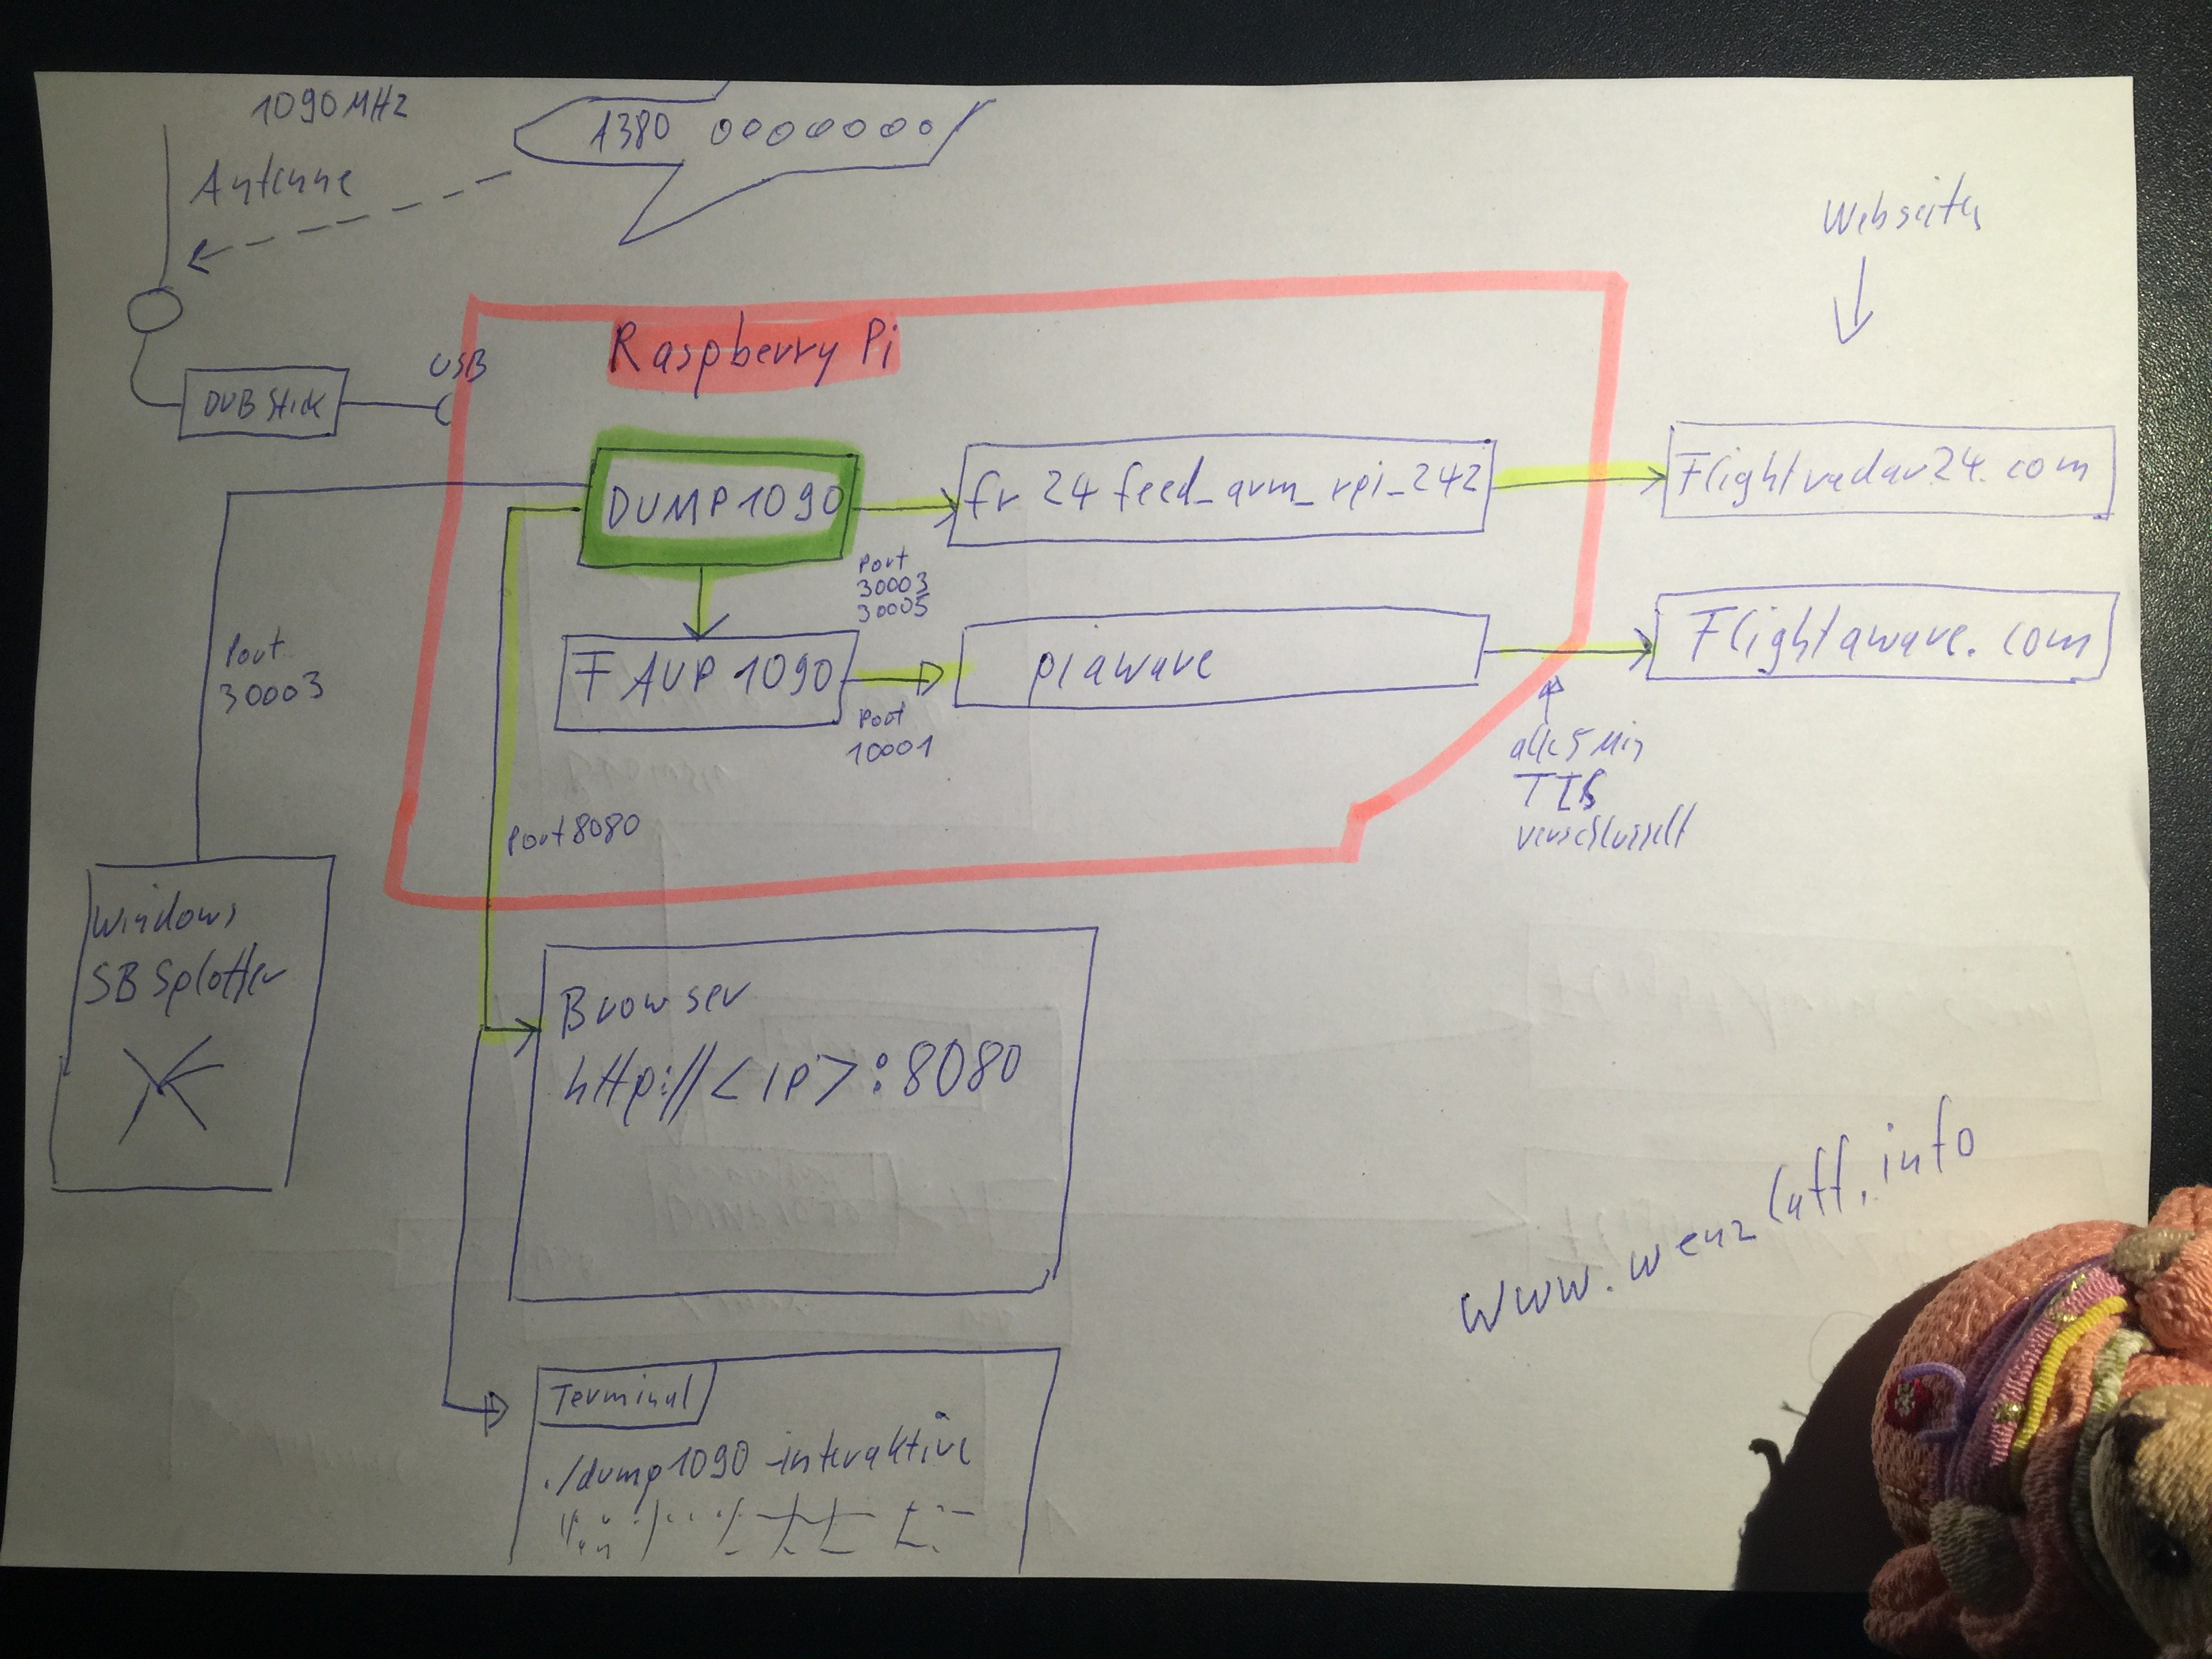
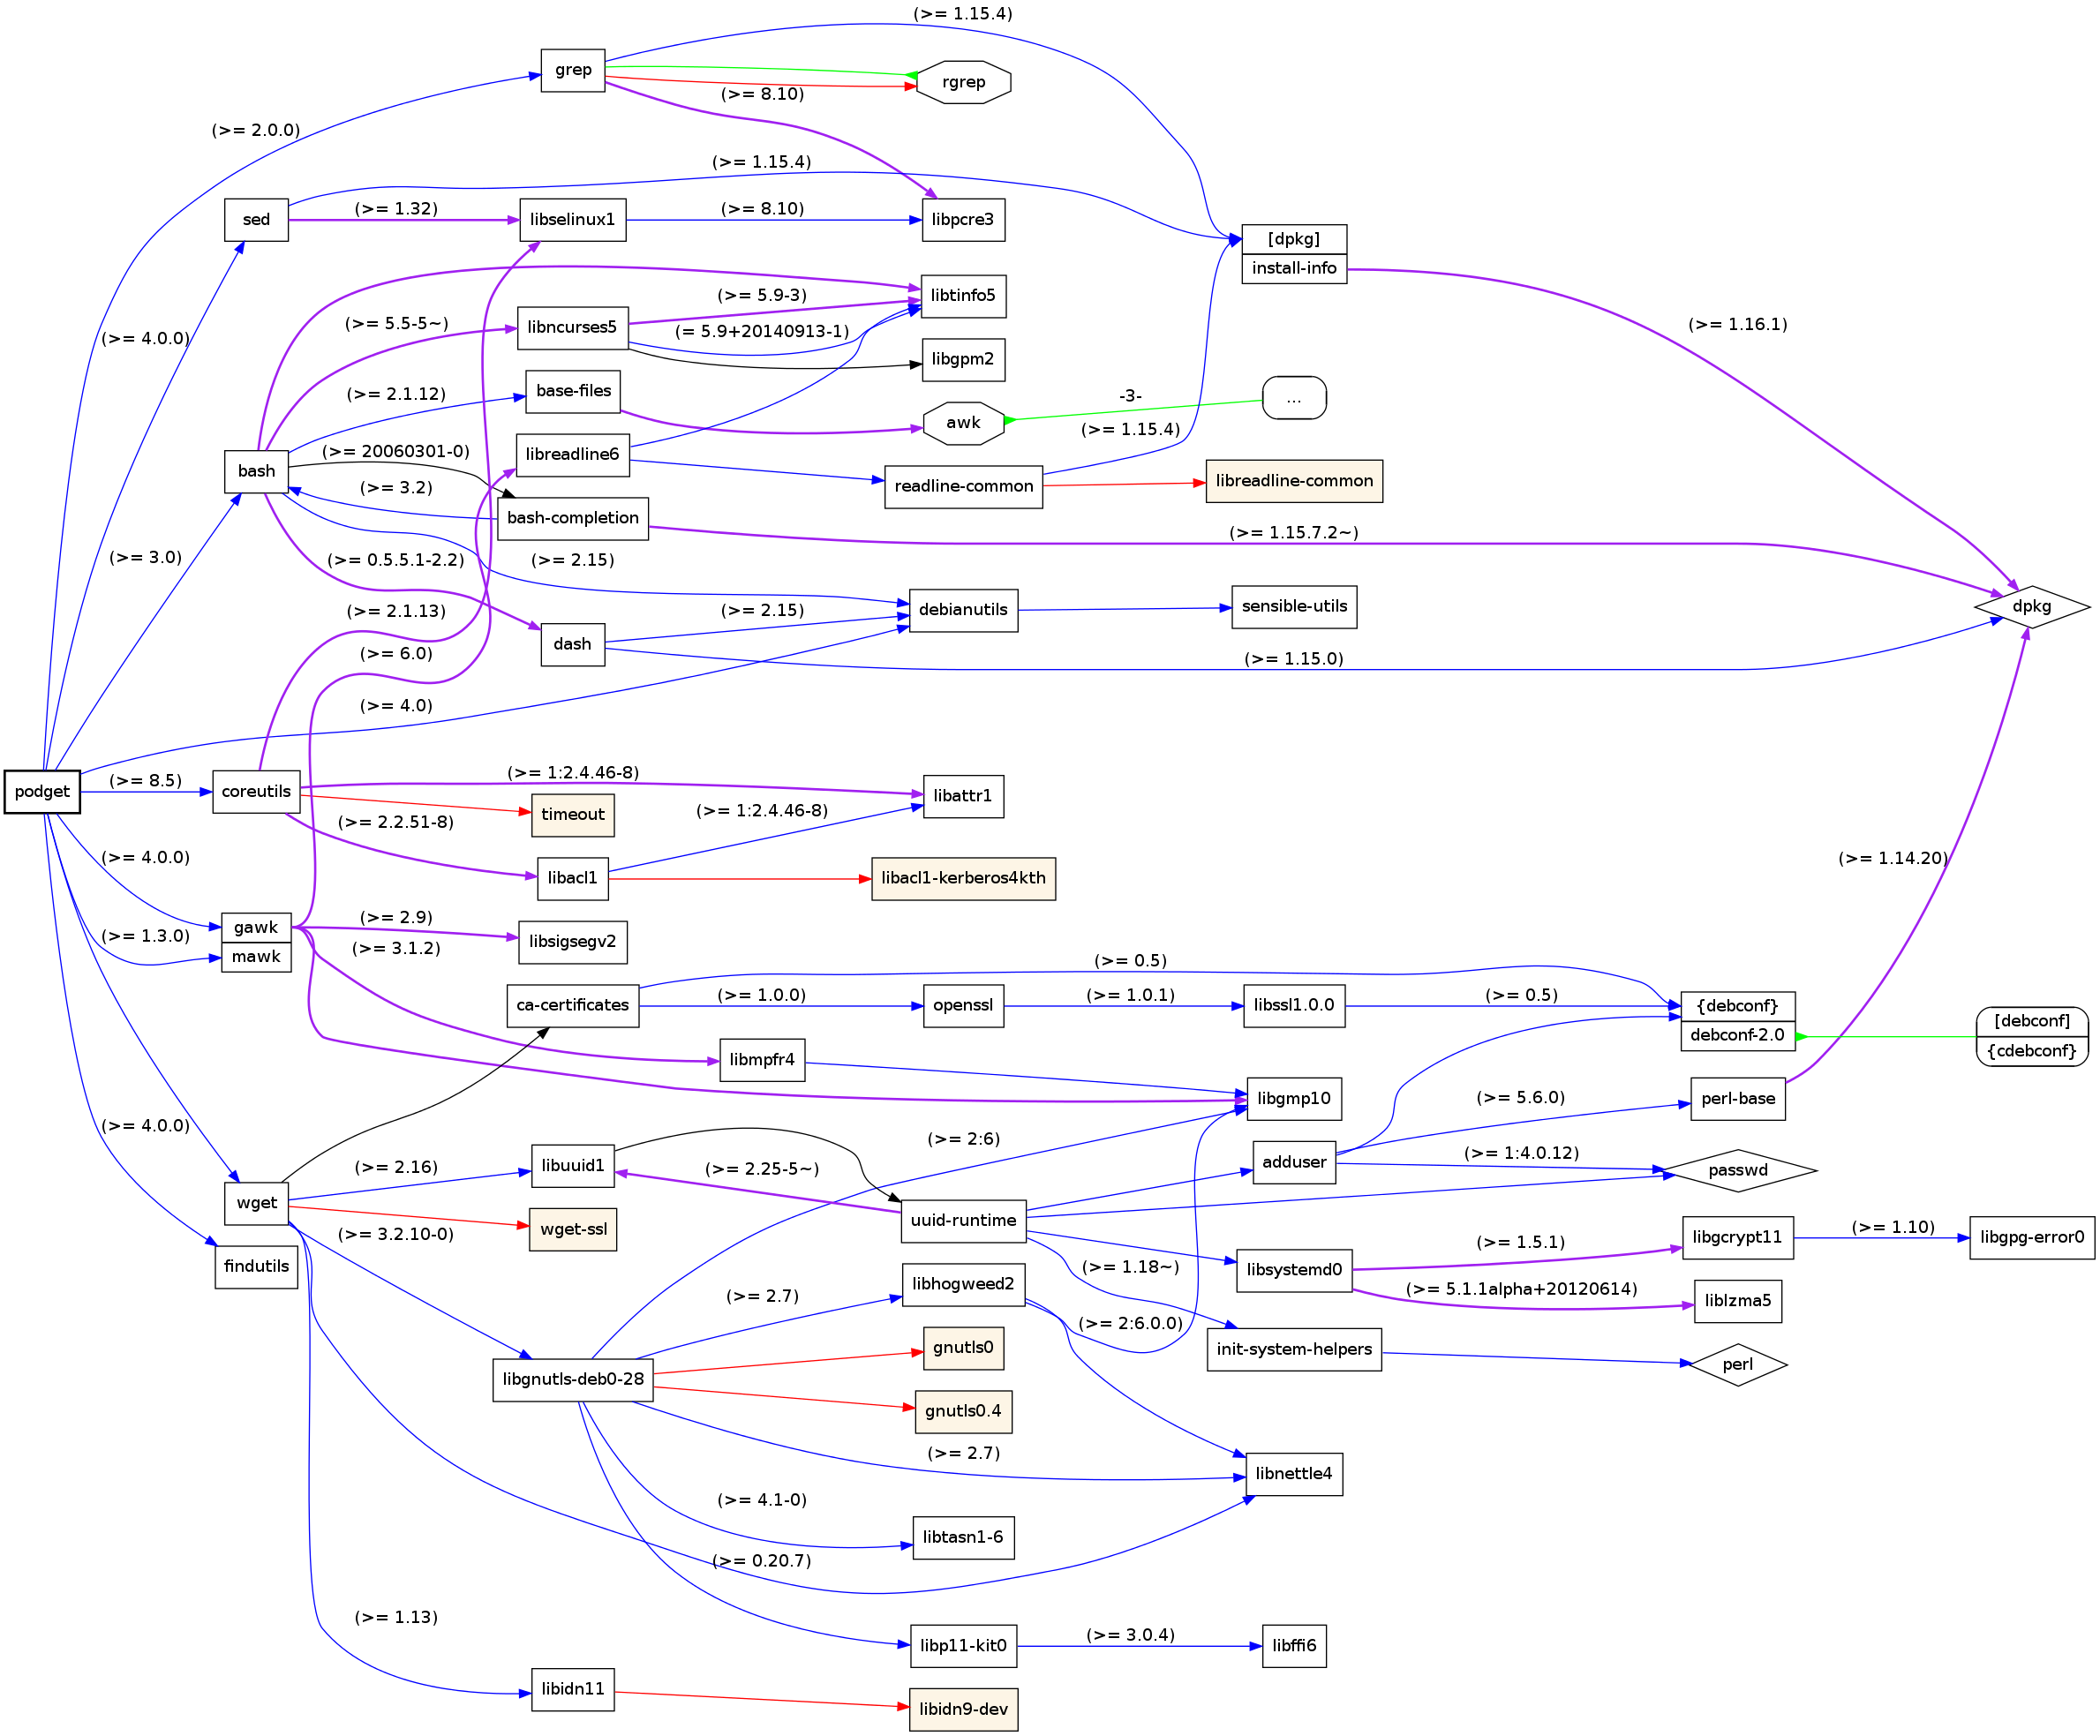
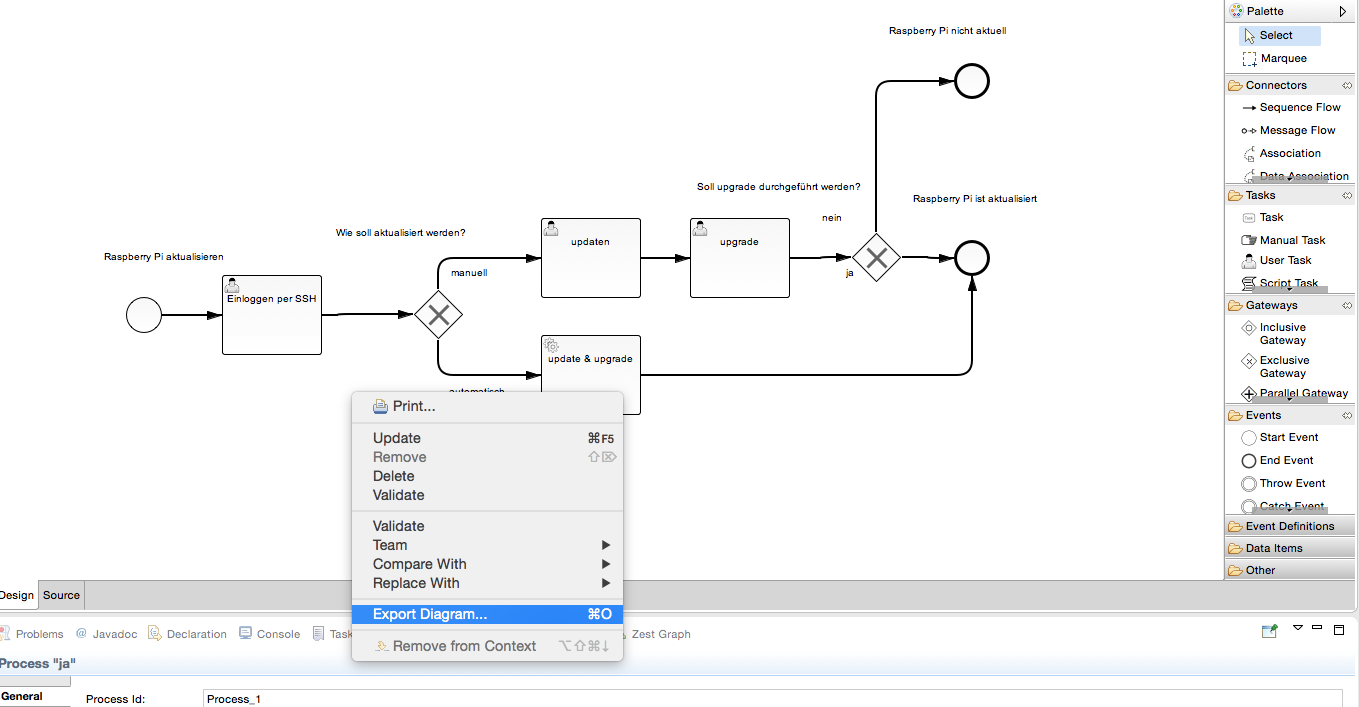
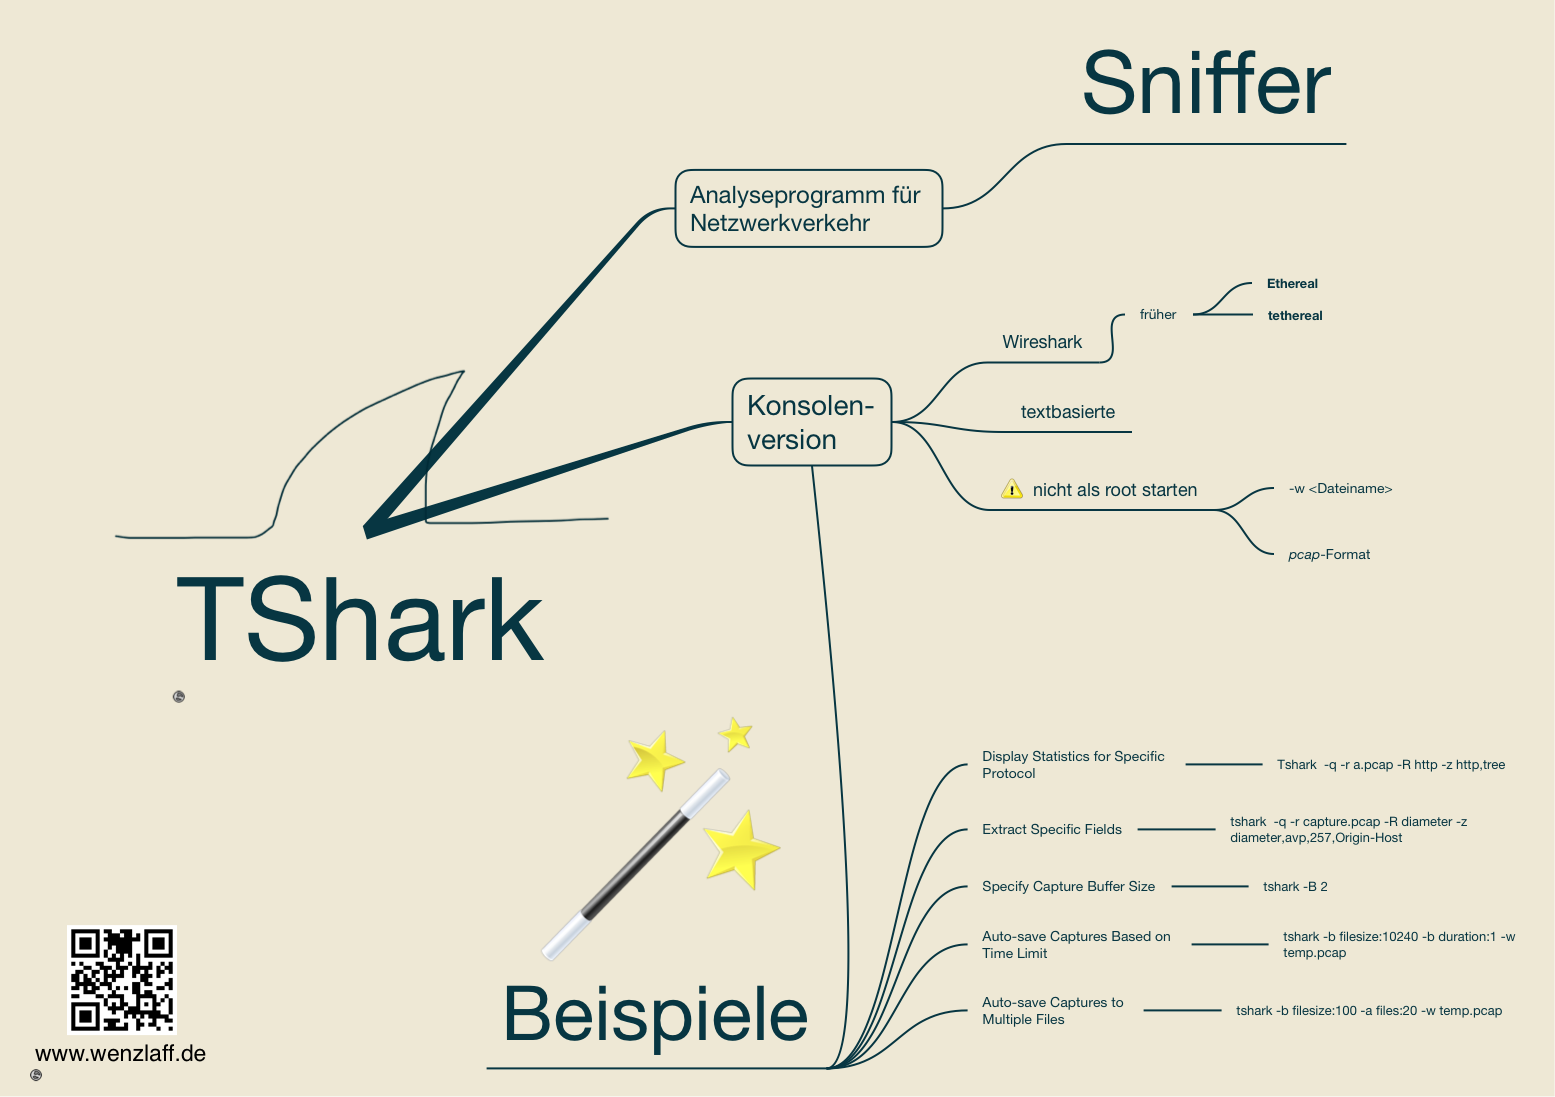
Hier die Architektur-Grafik: