E-Mails vom Raspberry Pi aus versende geht wie schon für den WR703N beschrieben. Ist halt auch Linux.
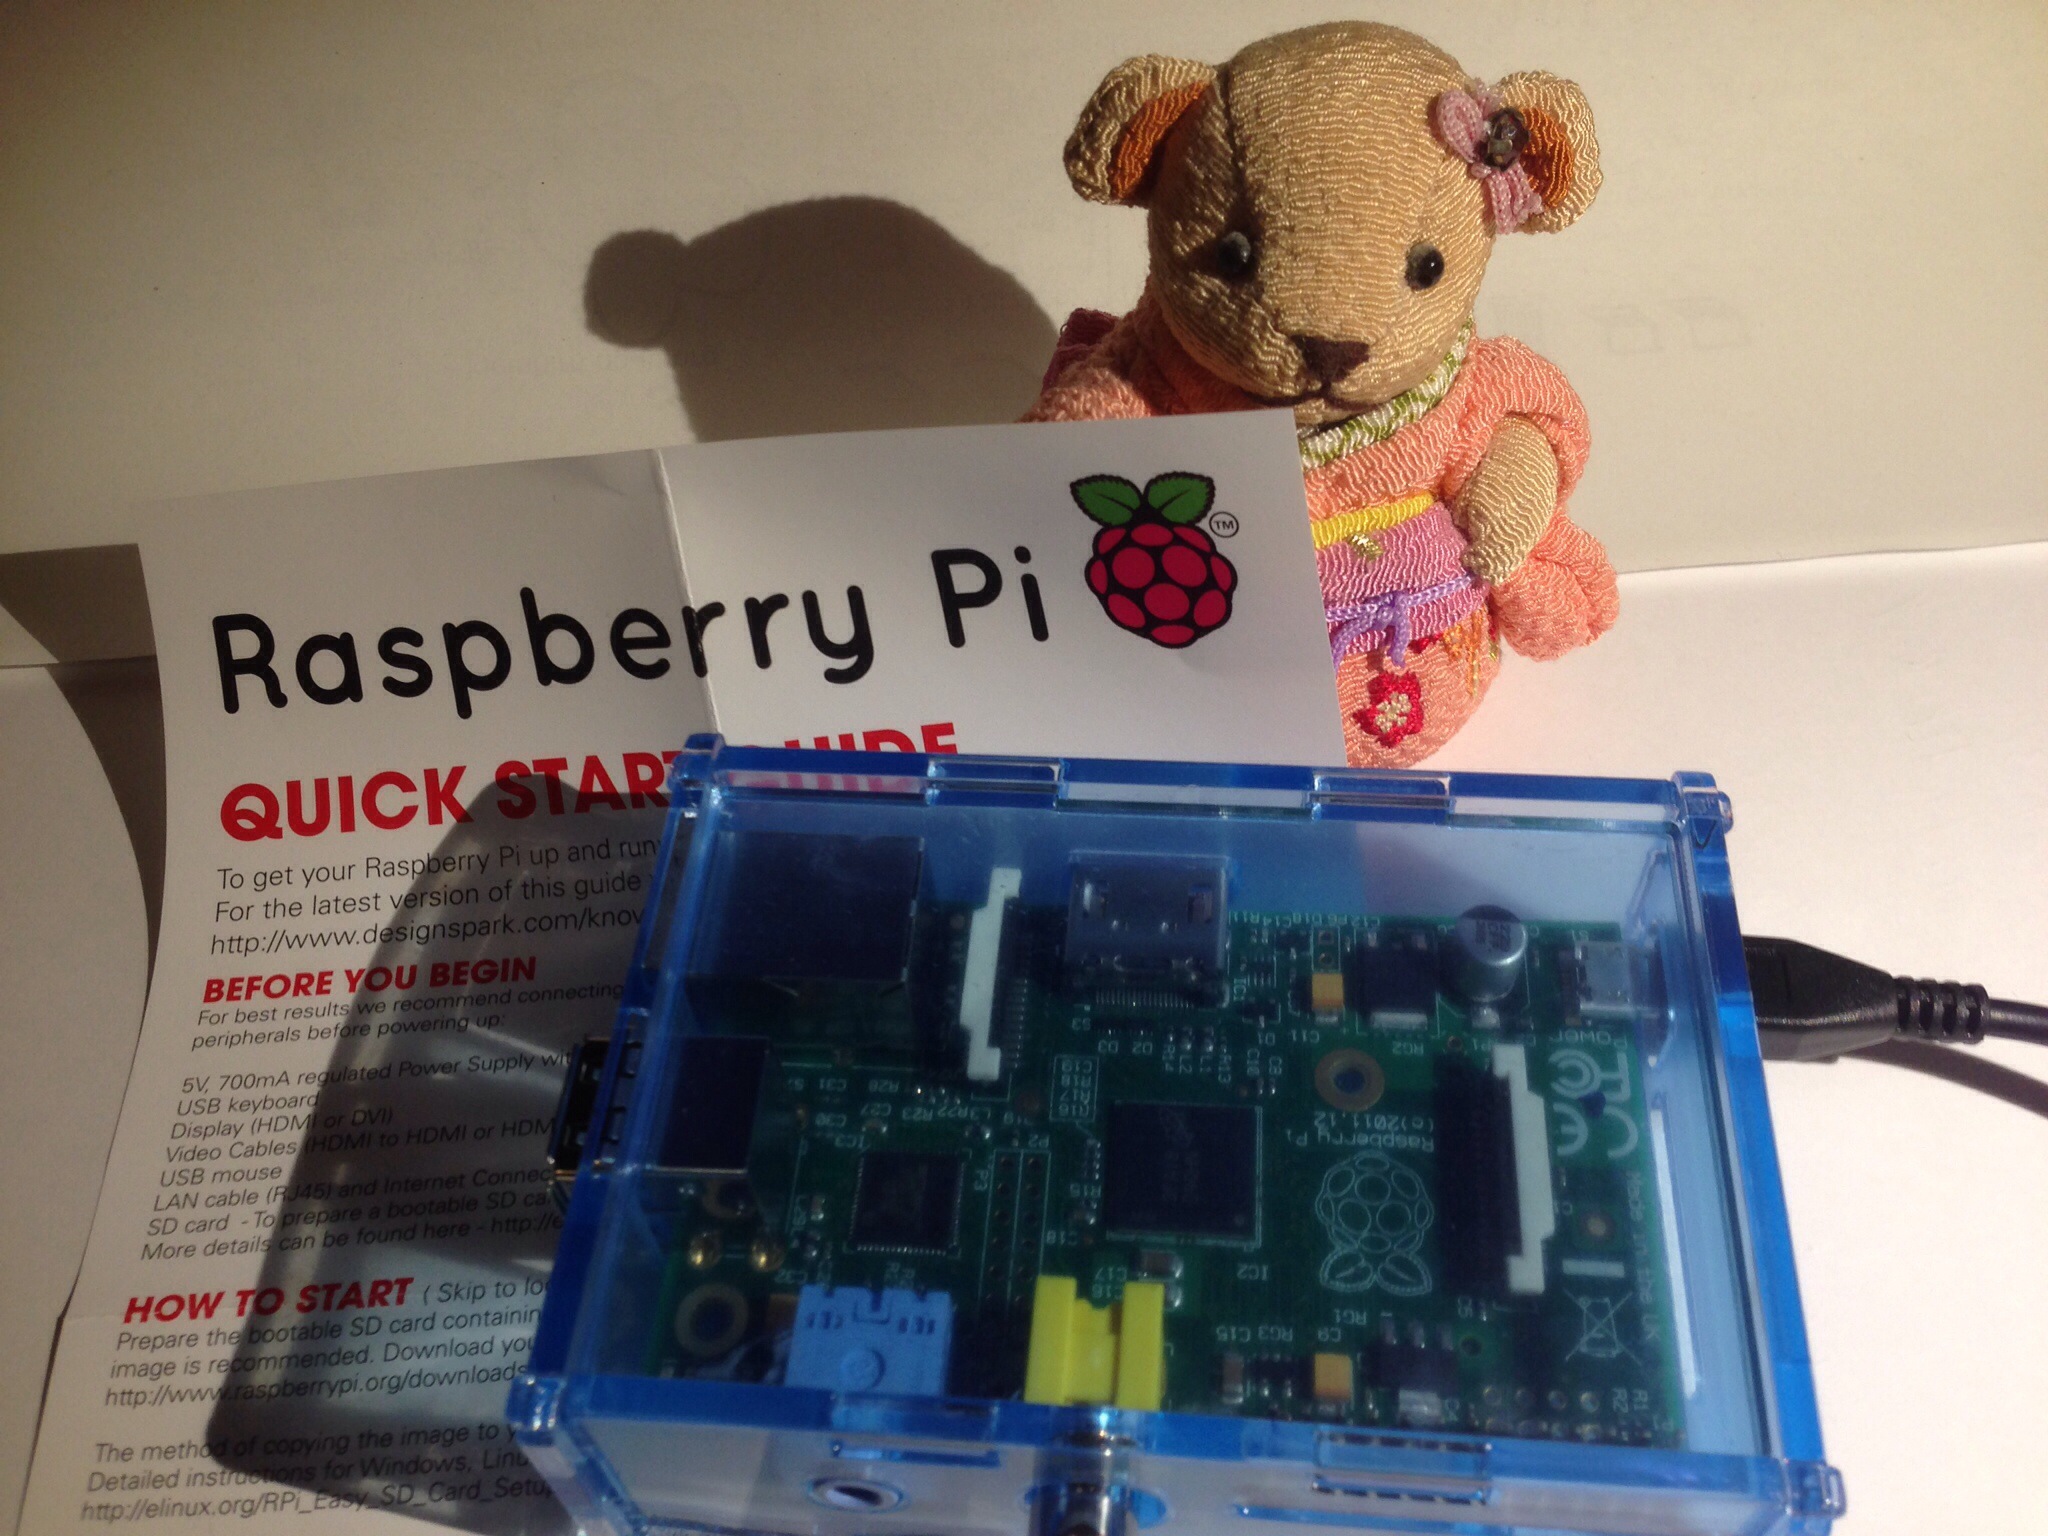
Also hier noch einmal kurz zusammengefasst, die Installation für den Raspberry Pi mit zusätzlichem Beispiel für das versenden einer E-Mail via mutt inkl. Dateianhang. Vorraussetzung ist eine Raspberry 2014-09-09-wheezy-raspbian.zip installation.
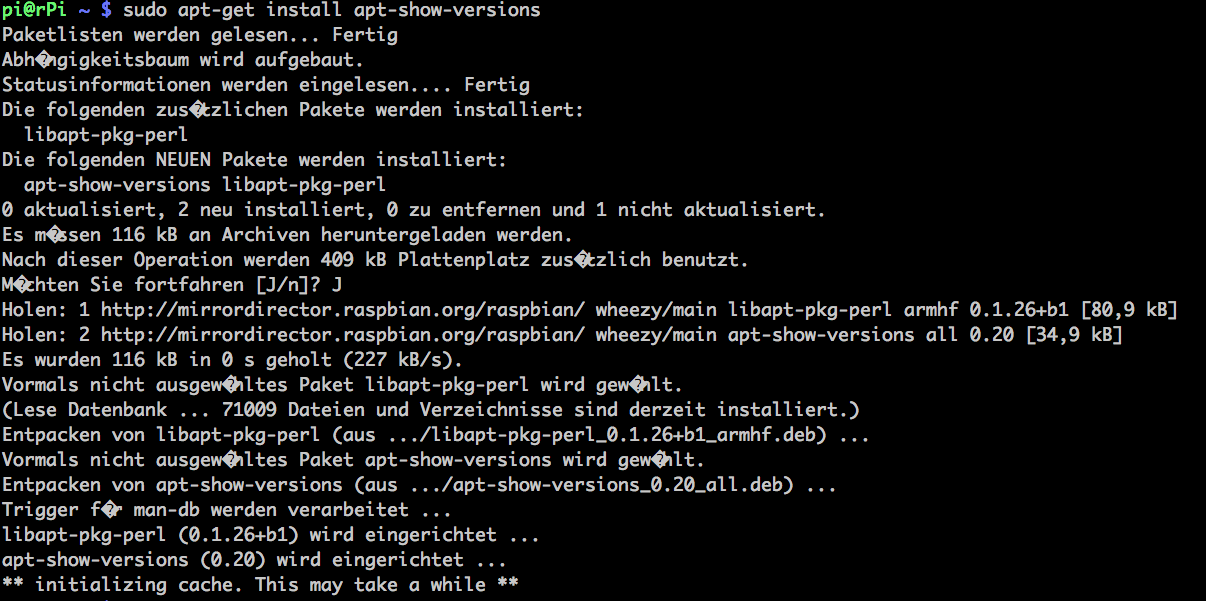
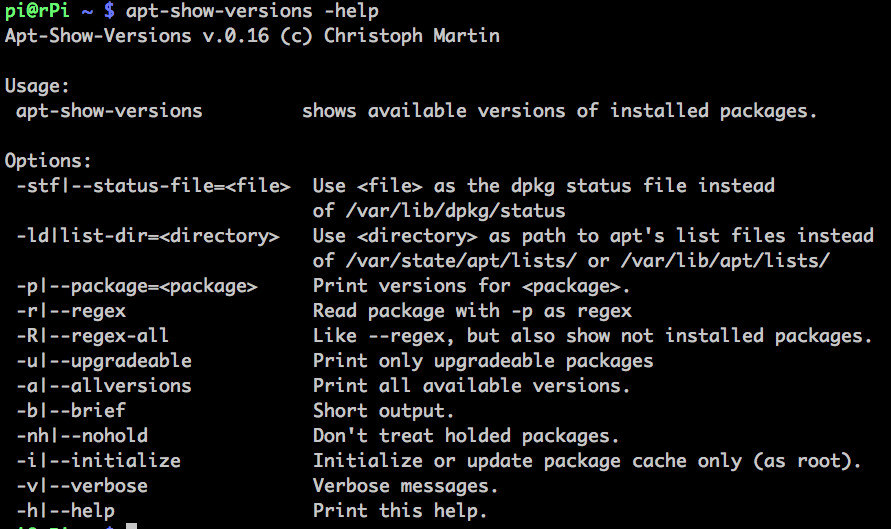
Dann das System updaten und einige Tools installieren mit
|
|
sudo apt-get update sudo apt-get upgrade sudo apt-get install mutt msmtp ssmtp nano mailutils mpack ca-certificates apt-show-versions |
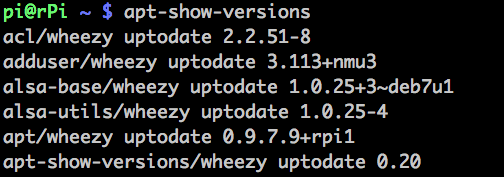
Es sind dann folgende Versionen nach ein paar Minuten installiert:
|
|
apt-show-versions mutt msmtp ssmtp nano mailutils mpack ca-certificates apt-show-versions # Ergebnis: apt-show-versions/wheezy uptodate 0.20 ca-certificates/wheezy uptodate 20130119 mailutils/wheezy uptodate 1:2.99.97-3 mpack/wheezy uptodate 1.6-8 msmtp/wheezy uptodate 1.4.28-1 mutt/wheezy uptodate 1.5.21-6.2+deb7u2 nano/wheezy uptodate 2.2.6-1 ssmtp/wheezy uptodate 2.64-7 |
Dann die drei Dateien wie in beschrieben anpassen:
|
|
sudo vi /etc/msmtprc sudo vi /etc/ssmtp/ssmtp.conf sudo vi /etc/ssmtp/revaliases |
Wenn alles konfiguriert ist, können E-Mails mit Anhang über mutt wie folgt versendet werden:
|
|
mutt -s "Test E-Mail mit Anhang einer Datei" test@email.de -a beispiel-anhang.txt |
Nach Enter öffnet sich ein Eingabefeld für die Empfänger E-Mail (to). Bestätigen mit Enter oder anpassen. Dann kommt das Betreff (subject). Weiter mit Enter oder anpassen. Dann öffnet sich der default Editor (nano 2.2.6 oder vi) dort kann der Text der E-Mail eingegeben werden. Speichern (ctrl und O) und Beenden (ctrl und X). Es öffnet sich das mutt Fenster und y zum versenden der E-Mail mit Anhang drücken.
Schon wird die E-Mail versendet.
Oder ohne den mutt Dialog
|
|
mutt -s "Test E-Mail mit Anhang" test@email.de -a beispiel-anhang.txt <. |
versendet die E-Mail sofort nach Enter.
So lief es zumindestens auf einen Raspbeery Pi mit einem älteren Debian. Bei dieser aktuellen Version bekomme ich immer diesen Fehler mit mutt:
*** glibc detected *** sendmail: munmap_chunk(): invalid pointer: 0x0141153f ***
Da habe ich auch noch keine Lösung für gefunden. [UPDATE 1.11.2014] Habe den Fehler jetzt gefunden. In der Datei /etc/ssmtp/smtp.conf hatte ich unter rewriteDomain den Username hinzugefügt (rewriteDomain=username@wenzlaff.de) richtig ist aber nur der Domain Name z.B. rewriteDomain=wenzlaff.de. Damit läuft es nun super. [/UPDATE]
Habe es deshalb wie hier beschrieben mit einem nSMTP Client versucht. D.h. erstellen von /etc/msmtprc und (optional) .msmtprc.
Damit läuft das versenden von E-Mails erst einmal.
Hier die Config-Dateien für Strato:
Eine globale /etc/msmtprc Datei, wird gelesen wenn keine im Userverzeichnis vorhanden ist.
|
|
# /etc/msmtprc account default host smtp.strato.de port 587 auth on user email@test.de password HIER DAS PASSWORT auto_from on from email@test.de tls on tls_starttls on tls_certcheck off logfile syslog LOG_MAIL |
Die .msmtprc überschreibt die globale /etc/msmtprc Datei wenn vorhanden (optional).
|
|
# .msmtprc account default host smtp.strato.de from email@test.de auth on port 587 user email@test.de password HIER DAS PASSWORT logfile ~/.msmtp.log tls on tls_starttls on tls_trust_file /etc/ssl/certs/ca-certificates.crt |
Wenn die .msmtprc vorhanden ist, muss sie dem User gehören und darf nur für den User schreib und lesbar sein. Ein ls-la muss so aussehen
-rw------- 1 pi pi 479 Oct 13 22:53 .msmtprc
Also evl. noch anpassen:
|
|
sudo chown pi:pi .msmtprc sudo chmod o-r .msmtprc sudo chmod g-r .msmtprc |
Testen des E-Mail versand mit:
|
|
echo -e "Subject: Test E-Mail vom rPi\r\n\r\nEine Test E-Mail" |msmtp --debug --from=default -t email@test.de |
Ergebnis Auszug:
1 2 3 4 5 6 7 8 9 10 11 12 13 14 15 16 17 18 19 20 21 22 23 24 25 26 27 28 29 30 31 32 33 34 35 36 37 38 39 40 41 42 43 44 45 46 47 48 49 50 51 52 53 54 55 56 57 58 59 60 61 62 63 64 65 66 67 68 69 70 71 72 73 74 75 76 |
loaded system configuration file /etc/msmtprc loaded user configuration file /home/pi/.msmtprc falling back to default account using account default from /home/pi/.msmtprc host = smtp.strato.de port = 587 timeout = off protocol = smtp domain = localhost auth = choose user = E-Mail des Users password = * passwordeval = (not set) ntlmdomain = (not set) tls = on tls_starttls = on tls_trust_file = /etc/ssl/certs/ca-certificates.crt tls_crl_file = (not set) tls_fingerprint = (not set) tls_key_file = (not set) tls_cert_file = (not set) tls_certcheck = on tls_force_sslv3 = off tls_min_dh_prime_bits = (not set) tls_priorities = (not set) auto_from = off maildomain = (not set) from = default dsn_notify = (not set) dsn_return = (not set) keepbcc = off logfile = /home/pi/.msmtp.log syslog = (not set) aliases = (not set) reading recipients from the command line and the mail ... STARTTLS 220 Ready to start TLS TLS certificate information: Owner: Common Name: smtp.strato.de Organization: Strato AG Organizational unit: Rechenzentrum Locality: Berlin State or Province: Berlin Country: DE Issuer: Common Name: TeleSec ServerPass DE-2 Organization: T-Systems International GmbH Organizational unit: T-Systems Trust Center Locality: Netphen State or Province: Nordrhein Westfalen Country: DE Validity: Activation time: Wed 16 Apr 2014 18:08:38 CEST Expiration time: Wed 22 Apr 2015 01:59:59 CEST Fingerprints: SHA1: D1:B3:59:F7:46:D2:9D:AB:CF:4B:B2:8E:64:99:D5:64:94:CD:19:27 MD5: 3C:8B:C2:5F:9A:5C:43:6C:46:56:C6:CC:FB:AF:30:1F EHLO localhost ... MAIL FROM:<default> RCPT TO:<Empfänger E-mail> DATA 250 2.1.0 Sender ok 250 2.1.5 <Absender E-mail> Recipient ok 354 Enter data for mail with id xxxxxxxxxx Subject: Test E-Mail vom rPi Eine Test E-Mail . 250 2.0.0 queued as xxxx QUIT 221 2.0.0 closing connection |
Habt ihr noch andere Alternativen oder ein Lösung warum mutt nich läuft? Dann hier als Kommentar posten.