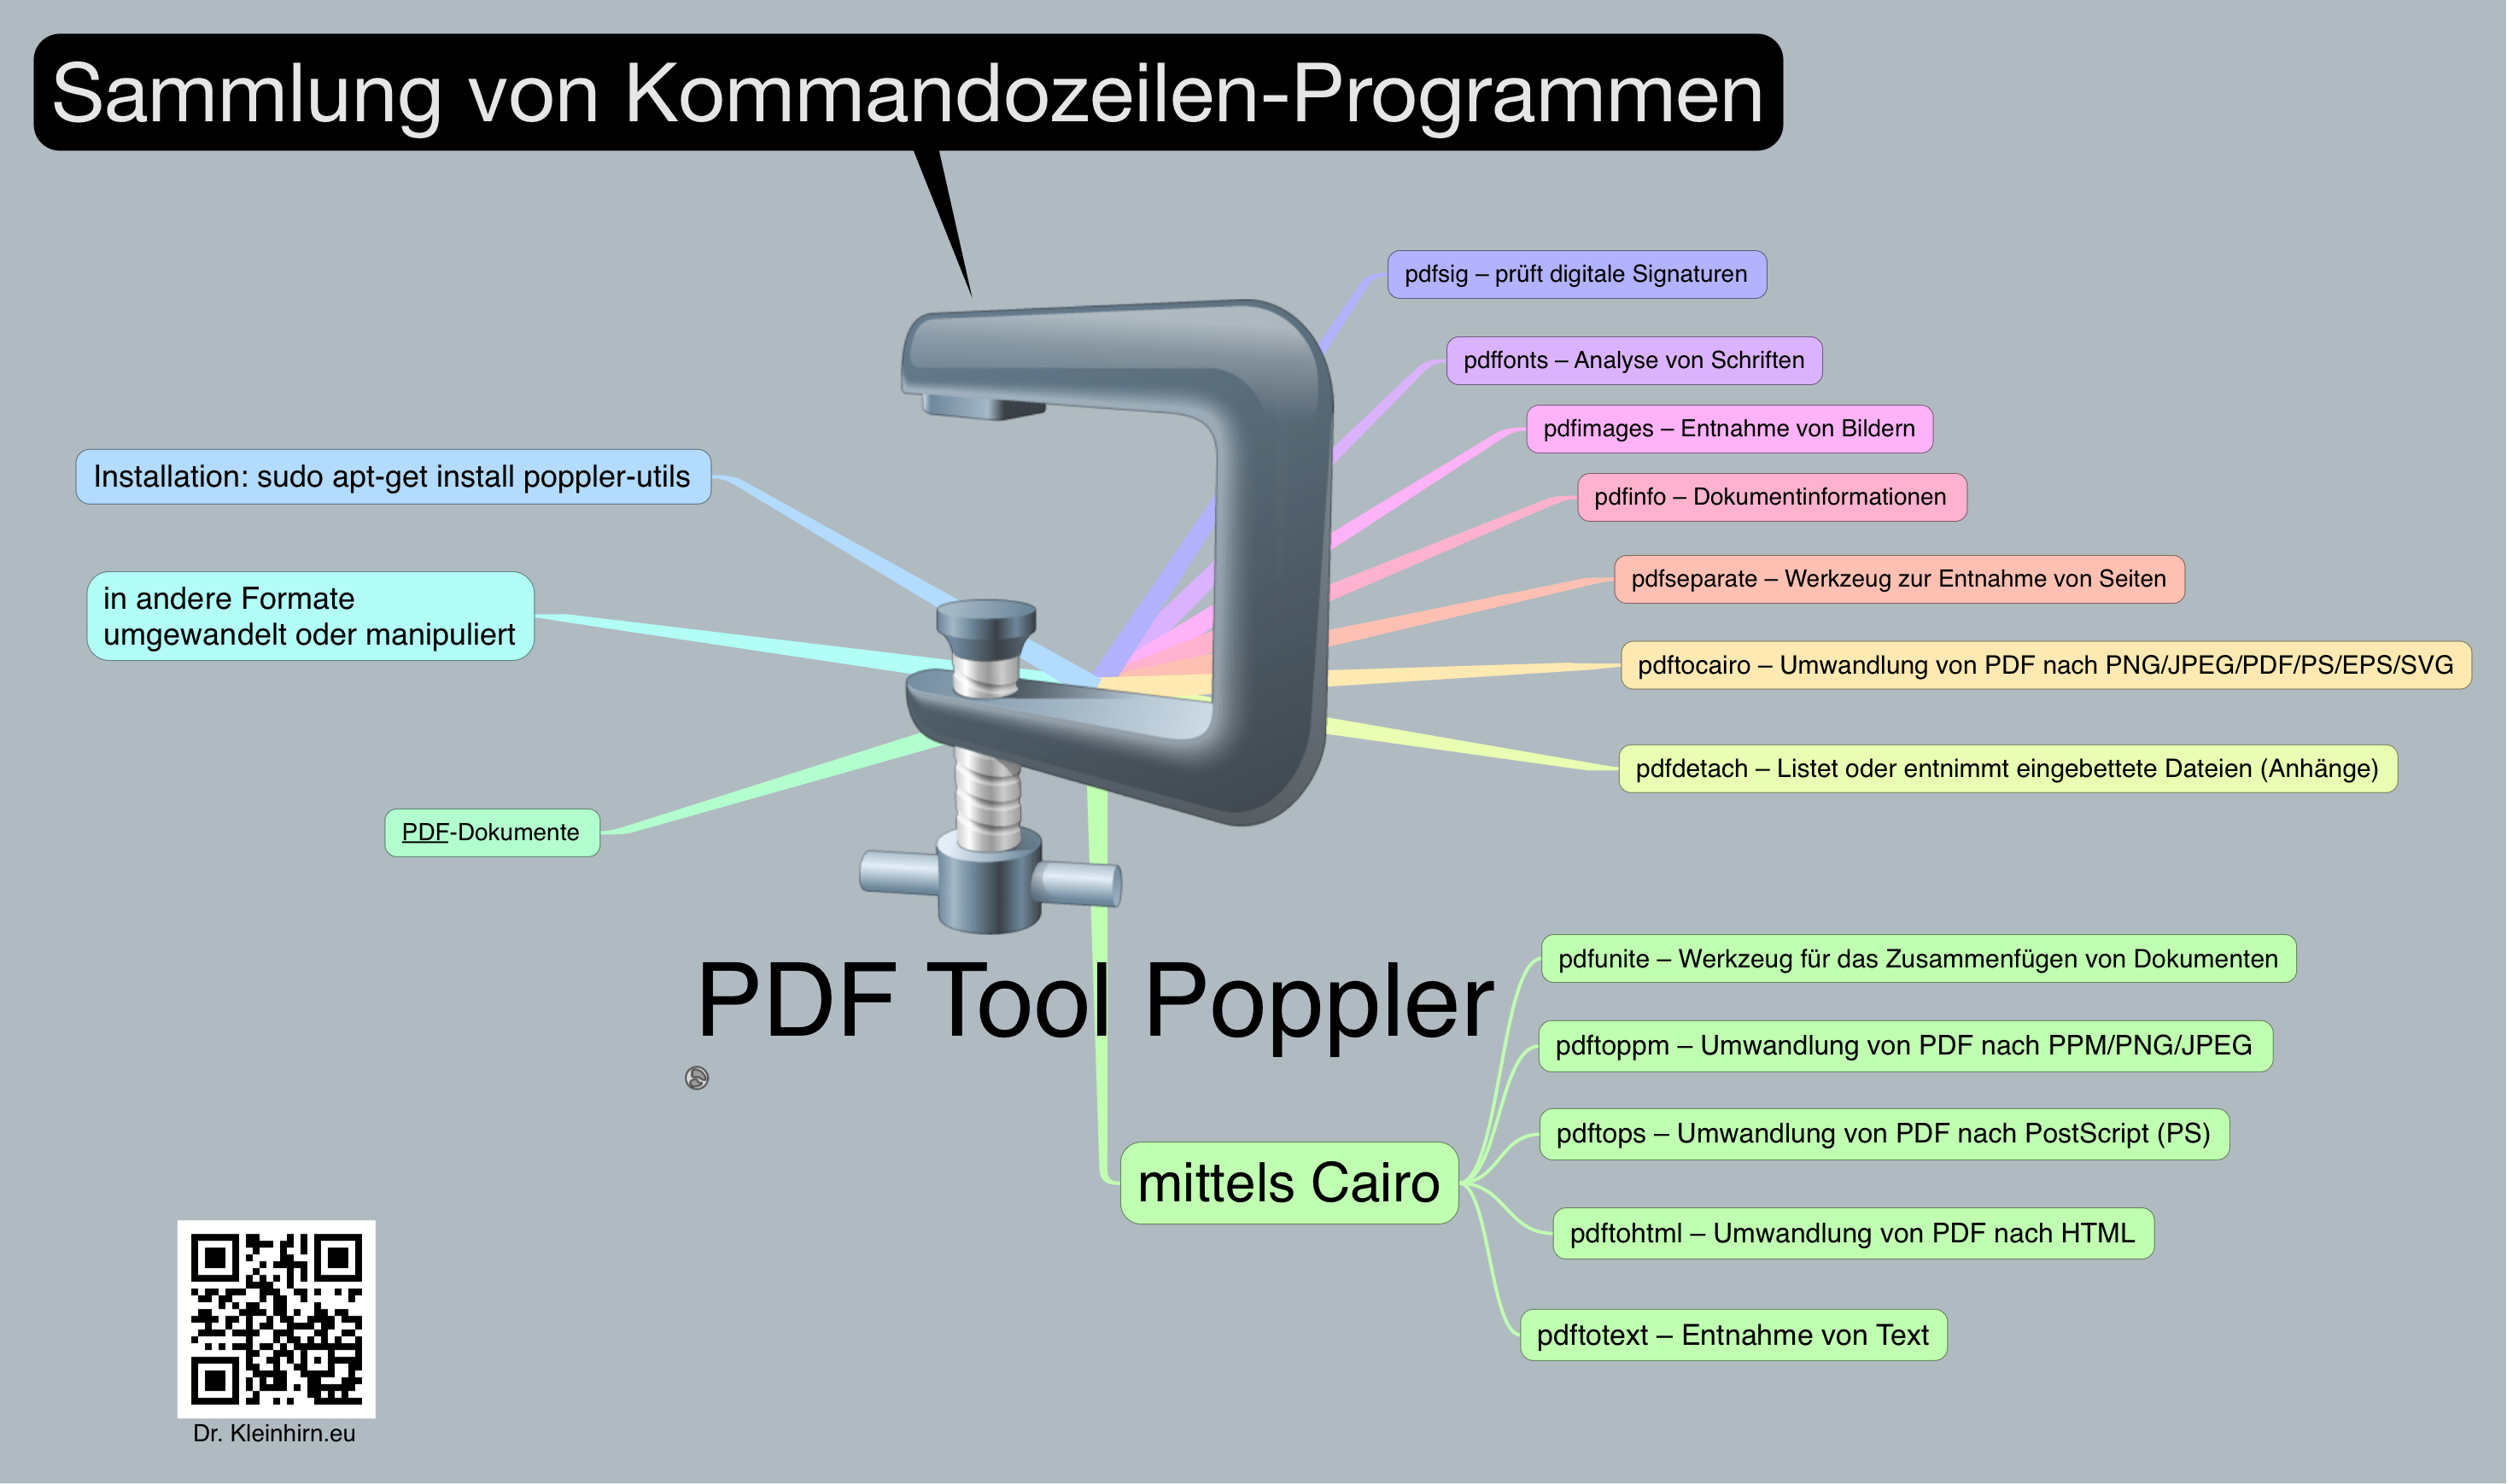
Um PDF-Dokumente in ein Bildformat wie PNG zu überführen, und auch zum skalieren kann das Tool pdftoppm auf einem Raspberry Pi verwendet werden. Aber auch noch andere Funktionen sind mit den poppler-utils möglich.

Installiert sind sie auf einem Raspberry Pi schnell mit:
|
1 2 3 4 |
sudo apt-get update sudo apt-get upgrade sudo apt-get install poppler-utils |
Nun testen wir ob das pdftoppm Programm aufrufbar ist mit pdftoppm -h, das Ergebnis ist die Anleitung des Programms:
|
1 2 3 4 5 6 7 8 9 10 11 12 13 14 15 16 17 18 19 20 21 22 23 24 25 26 27 28 29 30 31 32 33 34 35 36 37 38 39 40 |
pdftoppm version 0.71.0 Copyright 2005-2018 The Poppler Developers - http://poppler.freedesktop.org Copyright 1996-2011 Glyph & Cog, LLC Usage: pdftoppm [options] [PDF-file [PPM-file-prefix]] -f <int> : first page to print -l <int> : last page to print -o : print only odd pages -e : print only even pages -singlefile : write only the first page and do not add digits -r <fp> : resolution, in DPI (default is 150) -rx <fp> : X resolution, in DPI (default is 150) -ry <fp> : Y resolution, in DPI (default is 150) -scale-to <int> : scales each page to fit within scale-to*scale-to pixel box -scale-to-x <int> : scales each page horizontally to fit in scale-to-x pixels -scale-to-y <int> : scales each page vertically to fit in scale-to-y pixels -x <int> : x-coordinate of the crop area top left corner -y <int> : y-coordinate of the crop area top left corner -W <int> : width of crop area in pixels (default is 0) -H <int> : height of crop area in pixels (default is 0) -sz <int> : size of crop square in pixels (sets W and H) -cropbox : use the crop box rather than media box -mono : generate a monochrome PBM file -gray : generate a grayscale PGM file -png : generate a PNG file -jpeg : generate a JPEG file -jpegopt <string> : jpeg options, with format <opt1>=<val1>[,<optN>=<valN>]* -tiff : generate a TIFF file -tiffcompression <string>: set TIFF compression: none, packbits, jpeg, lzw, deflate -freetype <string> : enable FreeType font rasterizer: yes, no -thinlinemode <string> : set thin line mode: none, solid, shape. Default: none -aa <string> : enable font anti-aliasing: yes, no -aaVector <string> : enable vector anti-aliasing: yes, no -opw <string> : owner password (for encrypted files) -upw <string> : user password (for encrypted files) -q : don't print any messages or errors -v : print copyright and version info -h : print usage information -help : print usage information --help : print usage information -? : print usage information |
So, wir arbeiten also mit der Version 0.71.
Wir nehmen mal eine Test PDF Datei poppler.pdf für den ersten Test. Die wollen wir nun in eine PNG Bilddatei umwandeln. Wir übergeben einfach den Parameter -png und die Pdf-Datei und den Zieldateinamen:
pdftoppm -png poppler.pdf popple
Nach ein paar Sekunden, haben wir die Datei poppler-1.png mit 209 kb im gleichen Verzeichnis erstellt. Gar nicht so schwer.
Dann wagen wir gleich noch die Umwandlung in das JPEG-Format mit
pdftoppm -jpeg poppler.pdf poppler
Nun haben wir die poppler-1.jpg Datei erzeugt. Größe 183 kb.
Auch skalieren der Bilder geht ganz einfach, wir machen mal ein 200x100px Bild:
pdftoppm -jpeg -scale-to-x 200 -scale-to-y 100 poppler.pdf poppler-klein
Das Ergebnis:
Oder wir machen aus dem PDF ein quadratisches Bild von 88 Pixel:
pdftoppm -jpeg -scale-to 88 poppler.pdf poppler-quadratisch
Wenn man mehrere Dateien in einen Rutsch ändern will, kan man sich ja ein kleines bash Script schreiben.


